
MS SharePoint - Owner permissions management (ML staff)
Follow the MS SharePoint – Open a SharePoint Site (ML staff) guide on how to sign in to SharePoint on the web.
You may have been made an OWNER of a SharePoint Site for your Team or Department.
The permissions on SharePoint Sites can be a little different compared to Microsoft Teams sites.
There are permissions at Document Library level, Folder level and Document level.
Library Level Permissions
Navigate to your Site Contents page by clicking on the Settings cog in the top right corner of the site window.
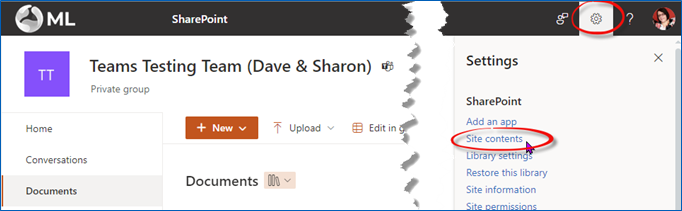
The Site Contents page shows all the content libraries and lists contained within your site. Hover over the name of a document library, click the 3 dots and select Settings.
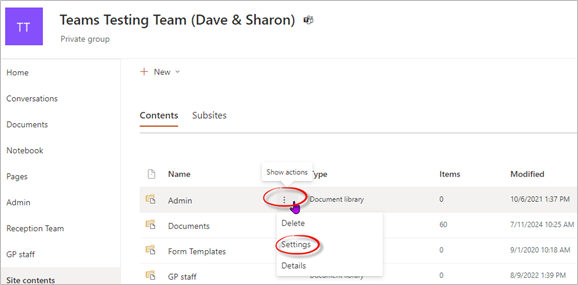
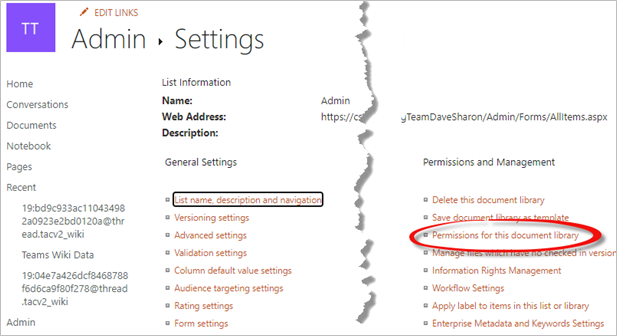
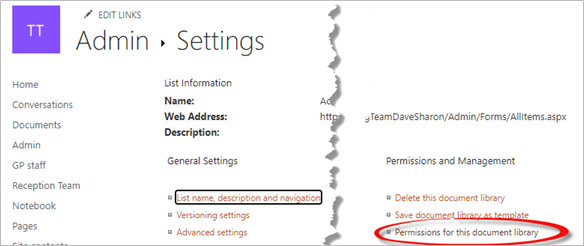
For this example we have selected the Settings for the Admin document library. From the Settings page, click Permissions for this document library under the Permissions and Management heading.
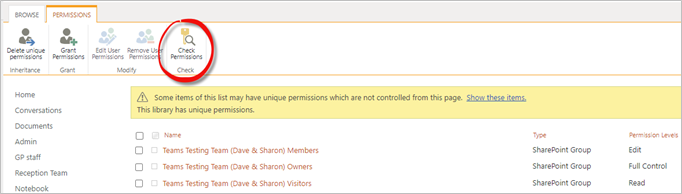
The document library permissions page will display the users and groups that have been given access to the content within the library and what each of their Permission Levels are.
For the Admin document library below the following groups have access:
- Teams Testing Team (Dave & Sharon) Members Edit permissions
- Teams Testing Team (Dave & Sharon) Owners Full Control permissions
- Teams Testing Team (Dave & Sharon) Visitors Read permissions
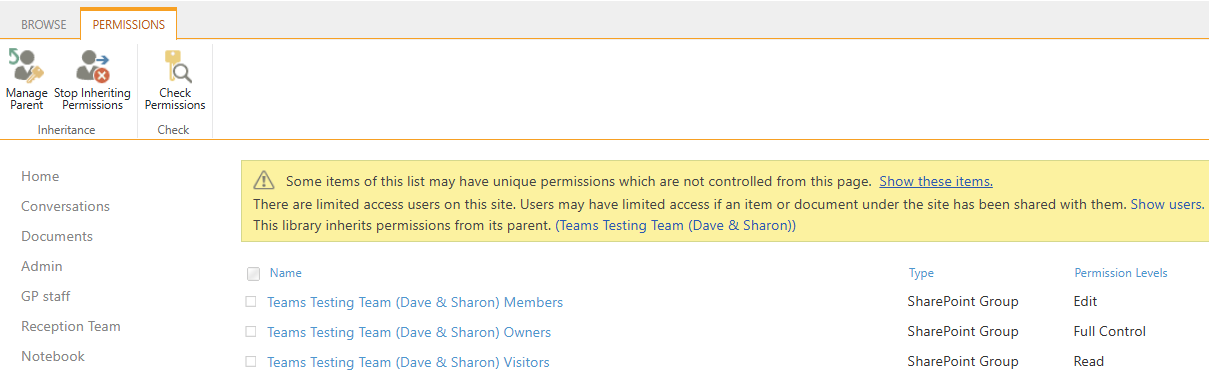
There may be notifications above the permissions list, highlighted in yellow. In the above list the notification displays the text This library has unique permissions. This means the permissions have been amended for this library only and not inherited the permissions from the main parent site.
Other notifications may also be displayed above the permissions list. Each line contains a link which will allow you to view unique permissions and action them accordingly. Examples of these notifications are as follows:
Notification example 1: There are limited access users on this site. Users may have limited access if an item or document under the site has been shared with them

This means that users from other sites i.e. colleagues from another team that do not have access to your whole site but have been given direct access to content within the site.
You can click the Show Users link to switch the view on this page to show the users who have limited access to the site. For the example below the two users Brian and David are listed and the permission levels are displayed as Limited Access and Web-Only Limited Access.

Notification example 2: The library inherits permissions from its parent.
This means the library has inherited the permissions from the main document library when it was created. A link to the SharePoint name will be displayed. For this example Teams Testing Team (Dave & Sharon)
Notification example 3: Some content of this site has different permissions from what you see here.

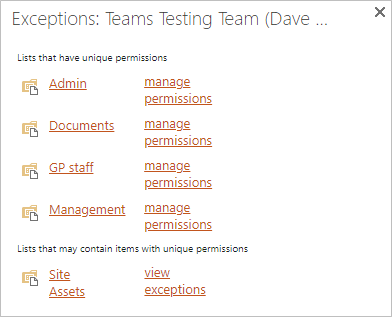
This means some content is not inheriting from the permissions being displayed, but instead are being shared directly with individual users. You can click the link Show these items to see which specific items of content are being uniquely shared. Each item displayed contains a link which will allow you to manage its permissions further.
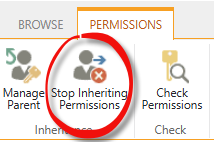
To change the permissions, click the Stop Inheriting Permissions button on the ribbon.
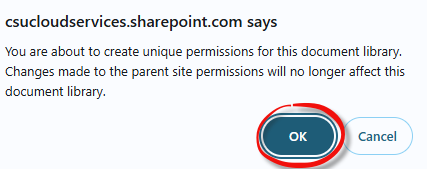
A message will be displayed to confirm you want to create unique permissions for the document library. Click the OK button.
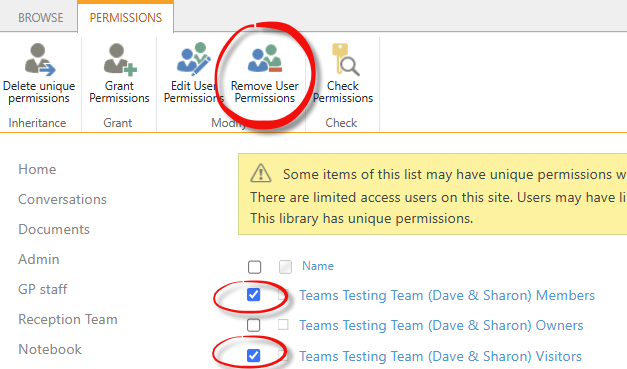
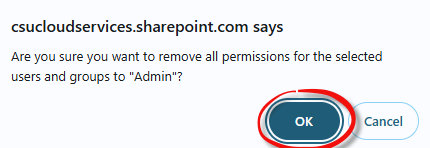
Click the tick boxes next to Members and Visitors to select them in the list. Click the Remove User Permissions button on the ribbon. Do not remove Owners.
A confirmation message will be displayed, click the OK button.
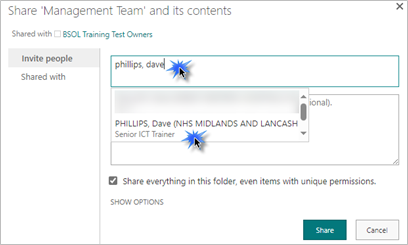
We now want to grant exclusive access to someone who is not an owner. Click Grant Permissions.

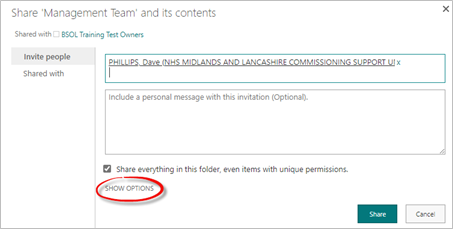
Search for person with their name or the same email address as you. We are searching for Dave Phillips. We have typed in phillips, then a comma, a space and then dave to find in the address book.
Click SHOW OPTIONS.
Tick the option to Send an email invitation if required and select a permission level.
Permission levels
- Full Control
- Design
- Edit
- Contribute
- Read
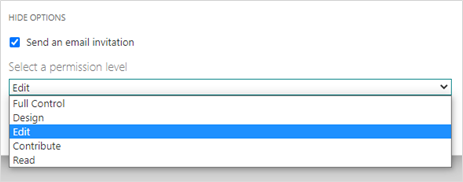
The Full Control permission is used for the Owners only. Click Share to save the changes.
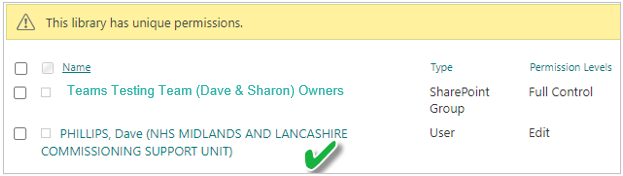
You will need to click CTL F5 on the keyboard to refresh the page to view the changes We can now see that Dave Phillips has been given exclusive access. Click the X in the top right corner to close the web page..
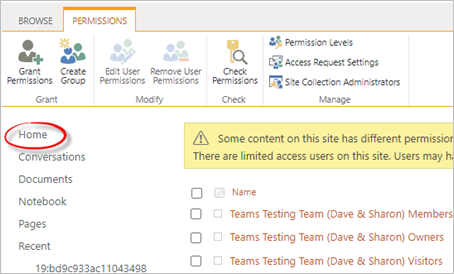
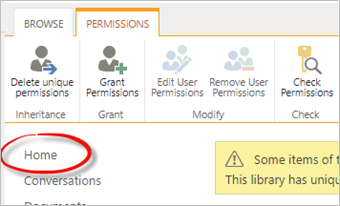
To return to the SharePoint site home page, click Home in the navigation pane on the left.
Folder Level Permissions
By default, all folders within a Document Library naturally inherit their permissions from what is being set at the Document Library Level. However, this can be changed so that the permissions of each folder can be managed individually.
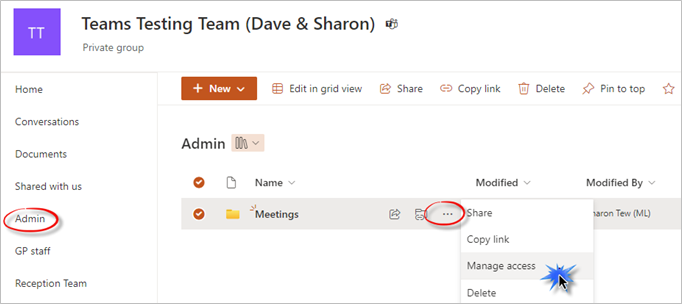
From within the library, we can see all the folders contained within it, and when we hover over the folder the 3 dots become visible.
Select the document library from the pane on the left. Click Manage Access from the list of options to review the sharing of an individual folder. For this example we have selected the Admin document library on the left and selected the Meetings folder.
The Manage Access box will be displayed. You can see all the users and groups that have direct access to the folder and what their roles are.
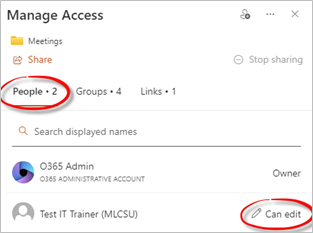
If you have given a user specific permission to directly access this folder by sharing the folder or sending a dedicated link, it will be visible under the Links and People section
In the above example we have shared the folder. The user Test IT Trainer is displayed in the People section, and they Can edit the folder content.
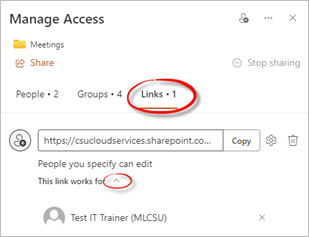
In the Links section we have shared the folder and sent a link to access the content. In the example below, we have expanded the section under People you specify can edit to view who the links works for. The user Test It Trainer is displayed.
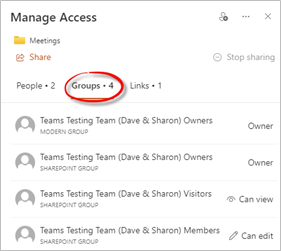
The Groups section will display the groups who have access to the folder. The Owners, Members and Visitors groups are added as default, inherited from the main document library.
Document Level Permissions
By default, all folders and their documents within a Document Library naturally inherit their permissions from what is being set at the Document Library Level. However, this can be changed so that the permissions of each folder and/or document can be managed individually.
From within the library, we can see all the documents and folders it holds, and when we hover over each document or folder the 3 dots become visible which you can then click on to view more options.
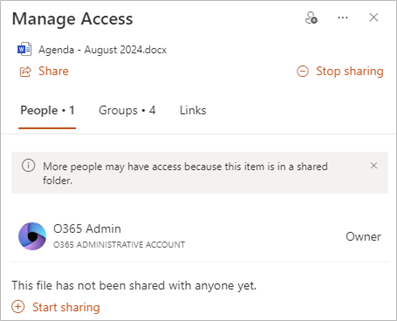
Click on the name of the document library in the pane on the left that contains the documents you wish to review the permissions of. Click the 3 dots next to the document and from the list of options, click Manage Access.

The Manage Access box will be displayed. You can see all the users and groups that have direct access to the folder and what their roles are. The document level permissions for the People, Groups and Links sections are the same as the folder level permissions outlined in the section above.
Check permissions for a user
You can check permissions for a user at both Site Level and Document Library level.
Search at site level
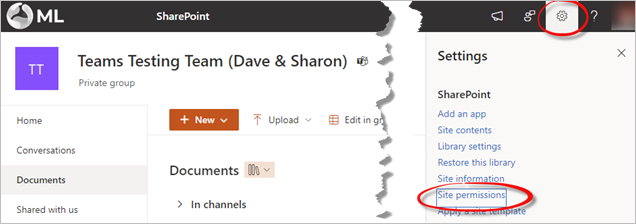
Open the SharePoint site, click on the Settings cog in the top right corner of the window and select Site Permissions from the list.
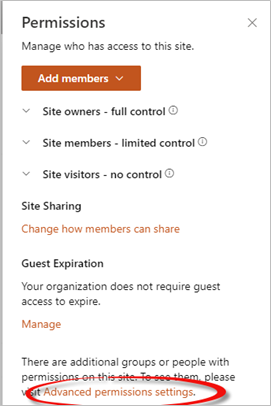
The Permissions pane will be displayed, click Advanced permissions settings.
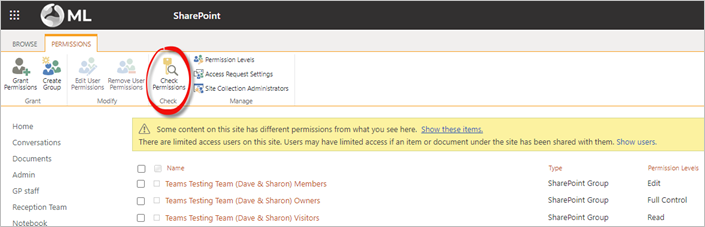
A new browser window will open displaying the Permissions. Click the Check Permissions button from the ribbon.
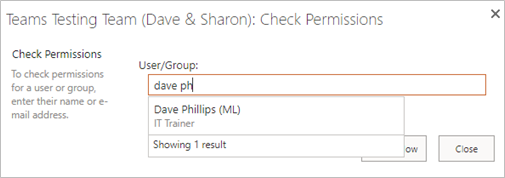
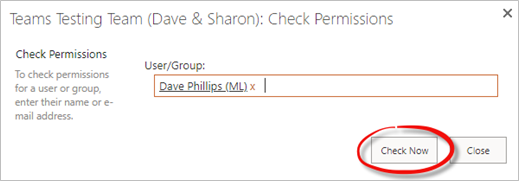
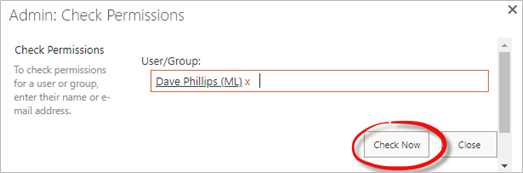
Enter the name of the user or group you wish to check permissions for into the text box to start searching for them. You can then pick them from the list of results that will begin to appear as you type. For this example we will search for Dave Phillips.
Click the Check Now button to commence with your checks.
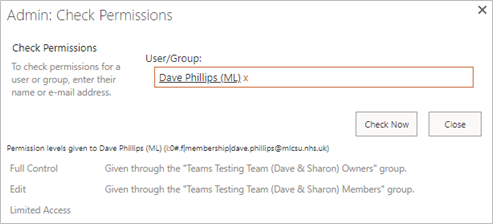
The results of your check will become visible below the Check Now button.
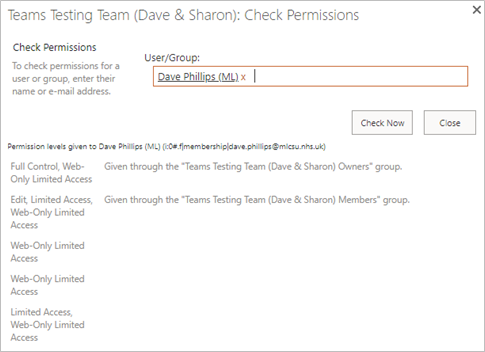
In the example above, Dave Phillips has access to content within this SharePoint site by being a member of both the Owners group and Members group.
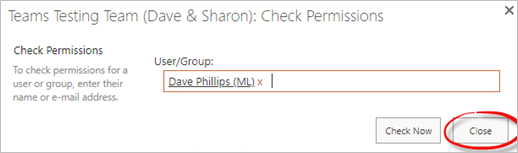
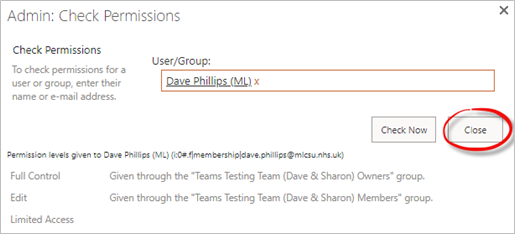
Click the Close button on the Check Permissions box when finished.
Click the X to close the Permissions web browser tab across the top of the window.

Search at Document Library level
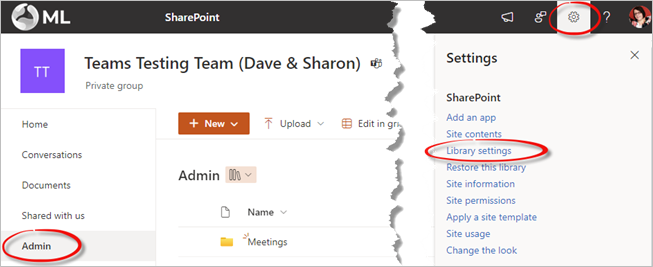
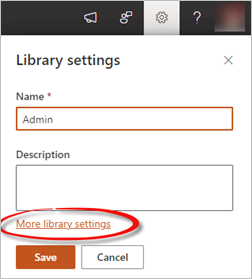
Select the Document Library on the left side of the window. Click on the Settings cog in the top right corner of the window and select Library settings from the list. For this example we have selected the Admin document library on the left.
The Library settings will be displayed in the pane on the right of the window. Click More library settings.
The Settings page will be displayed. Select Permissions for this document library under the Permissions and Management heading.
From the Permissions page, click the Check Permissions button from the ribbon.
Enter the name of the user or group you wish to check permissions for into the text box to start searching for them. You can then pick them from the list of results that will begin to appear as you type. For this example we will search for Dave Phillips.
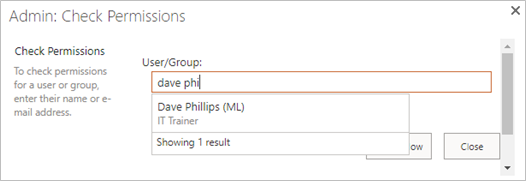
Click the Check Now button to commence with your checks.
The results of your check will become visible below the Check Now button.
In the example above, Dave Phillips has access to content within this Document Library by being a member of both the Owners group and Members group.
Click the Close button on the Check Permissions box when finished.
Click Home in the pane on the left of the window to return to the SharePoint site.
Add and remove users
Follow the MS SharePoint - Joiners and Leavers (ML staff) guide for further information on adding and removing users for a SharePoint site, Document Library and a Folder.
Additional Guidance
Please refer to the User & Video Guides or the Microsoft 365 page for on the MLCSU Academy for additional guidance.
Please contact the MLCSU IT Training Team if you need any further help. Email: mlcsu.academy@nhs.net