
IT Self Service Portal
Contacting IT Services
The best way to contact the IT Service Desk is via our Self Service Portal or through AVA Chatbot (with AVA chatbot being linked to https://chat.mlcsu-service-desk.cloudcontact.io/
The Self Service Portal is a one stop shop for IT related issues, problems, enquires and requests. You can use the portal to log and update calls, track progress of existing calls, view service updates, complete forms, request training and access help sheets and quick guides.
For urgent queries call us on 0300 555 0212
Registration / First Time Use
Go to the Self Service Portal Website.
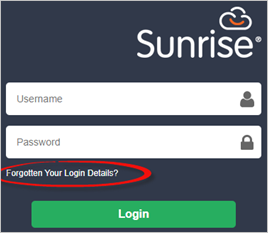
The login page will be displayed. If you are already a user sign in with your Username and Password and click Login. Go to the section 1. Raise a Call.
To register for the first time, there is no separate registration, click Forgotten Your Login Details?
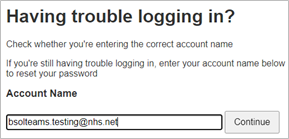
The Having trouble logging in? box will be displayed. Type in your NHSnet email address in the Account Name box and click Continue.
A confirmation message will be displayed in the Having trouble logging in? box:
Your request for a password reset has been received. If you have a registered email address you will receive an email with a rest link.
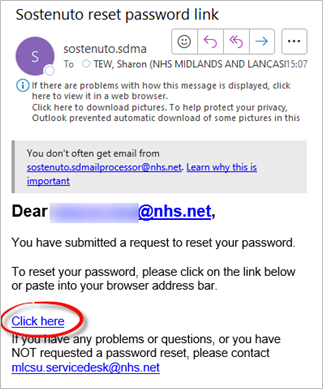
You will receive an email with a Click here link. Click the Click here link to reset your password.
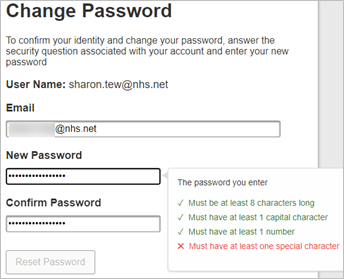
When you click on the Click Here link, the Self Service Portal website will open, and the Change Password box will be displayed.
Type in your NHSnet email address in the Email box. Type in a password in the New Password box and type in the password again in the Confirm Password box. When you click in the New Password box, instructions will be displayed to confirm what the password must contain:
- Must be at least 8 characters long
- Must have at least 1 capital character
- Must have at least 1 number
- Must have at least one special character
A green tick will be displayed next to each item if the password meets the criteria. A red cross will be displayed next to each item if the criteria has not been met. The Reset Password button will also be greyed out until all the criteria has been met.
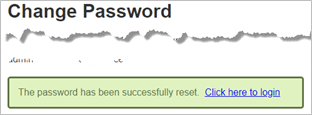
Click the Reset Password button to confirm. A message will be displayed in the change password box to confirm he password has been successfully reset.
Click the link displayed in confirmation message, Click here to login to return to the login page.
1. Raise a Call
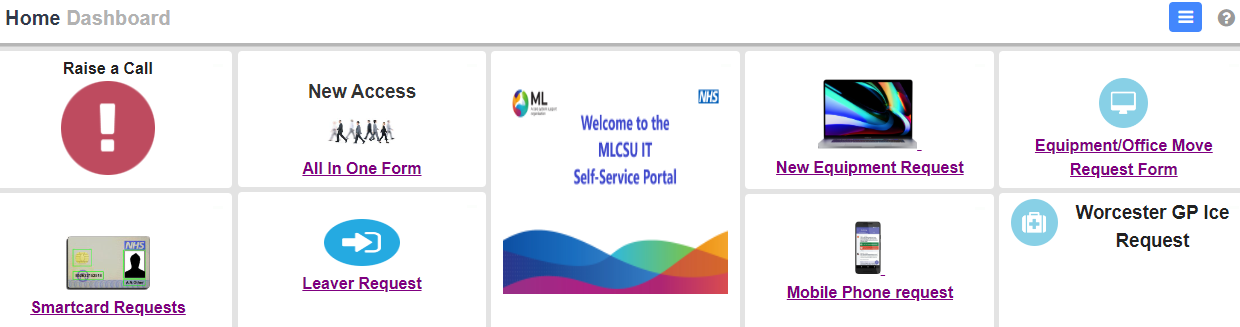
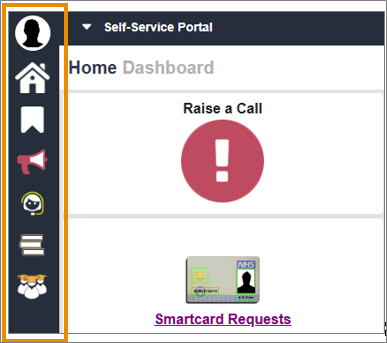
The Home page will be displayed when you login. To create a new incident or service request, click the Raise a Call button.
In the top left corner your Telephone number and Mobile number will be displayed. To help us deal with your query quickly, please ensure that you enter your preferred contact number in the box provided.
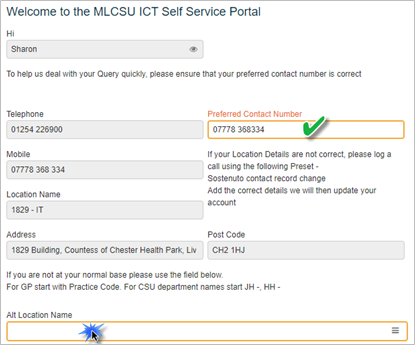
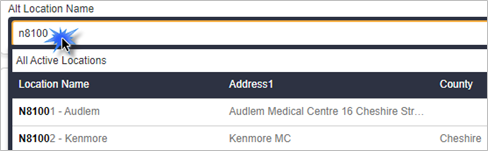
If you are not at your normal base, please use the Alt Location Name field to add your current location. For a GP practice start to type the Practice code and select the practice from the list.
For a CSU department start to type the area letters followed by a space and a hyphen. For example JH –. We have used a practice code for the example screenshot below.
You will be asked to provide information to log your request. If you type the keyword into the Enter issue details here line, you will see we have some pre-sets setup, these will ask you certain questions to obtain the information we need.
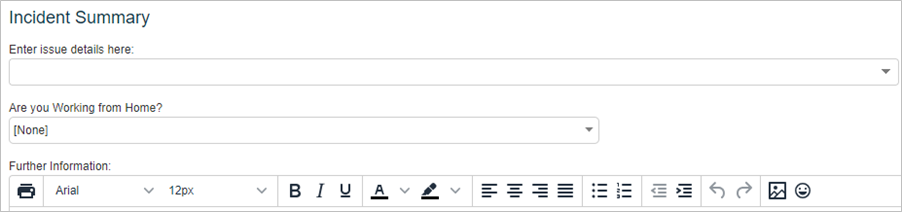
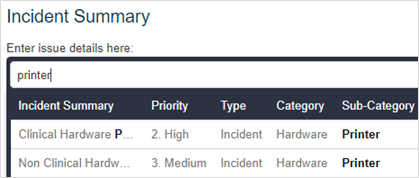
For example, if you type printer, you will see two options to choose from relating to issues with the hardware.
However, if you needed a printer installing or configuring, you would type in configuration or install as this is a service request.
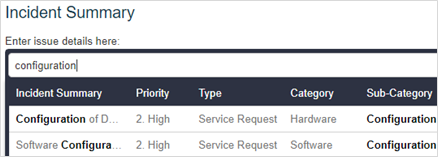
There are various pre-set solutions setup which you can select by typing the key word into the summary line.
Service Requests: request for new/change to existing (e.g. EMIS needs configuring on a PC that it has not been used on before)
The action you want to take on either the Software/Device/Infrastructure e.g. Software configuration, infrastructure install, disposal of device:
- Install
- Removal
- Configuration
- Disposal
- Move
- Restore
- Upgrade
- Account (in most cases, should be using a form)
- Sostenuto Self Service Access
Incidents: unplanned outage (e.g. it worked yesterday but is not working today)
- Software issues e.g. errors when loading an application, application running slow – Clinical Software Issue/Desktop Software Issue
- Hardware issues e.g. device will not power on, stuck on black screen
- Clinical Hardware/Non-Clinical Hardware then the type of device e.g. Clinical Hardware Laptop/Non-Clinical Hardware, Printer
- Examples of devices – laptop, desktop PC, printer, scanner, monitor, peripheral (keyboard/mouse)
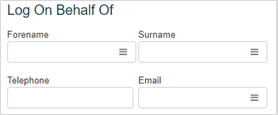
To the right of the screen, you have the option of adding the details of another user, Log On Behalf Of, please only do this if you are logging the call on behalf of someone else.
Begin by entering the Surname, if the user is already registered in the system you will be given a list of users to choose from. If the user is not registered please enter the full details for the user.
If you have any documents that you would like to add to the call, please click the Select button at the bottom of the form. You will be presented with access to your files and folders, please navigate to the required document and click Open.
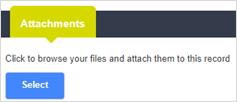
You will be able to see a list of documents attached to the call.

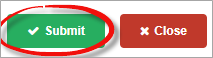
Once you have entered all the required details, click the Submit button in the bottom right of the window.
The call will be logged instantly, and you will be given an Incident ID number, this will be shown at the top of the window:
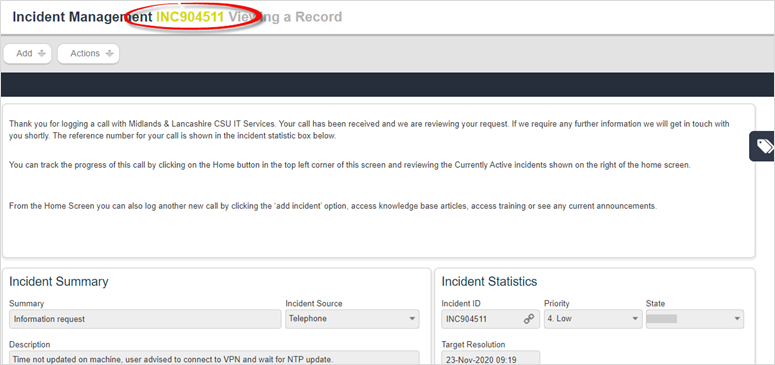
Your call will be triaged by the IT service desk team, they will assign a priority level to the call and allocate it to the appropriate team to resolve the issue.
Click the Home button on the left of the window to return to the Home page.

2. Making a new request
There are a number of requests that can be made via the portal, such as:
- All In One Form - for a new user account or folder access
- Smartcard Requests
- Leaver Request
- New Equipment Request
- Mobile Phone Request
- Equipment/Office Move Request From
- Worcester GP Ice Request – for Worcester GP practices only.
To complete a new request, click on the relevant button from the centre section of the window.
The request form must be completed by the authorising manager or an approved requestor, any forms which are not completed in this way will be rejected as requiring authorisation.
Please ensure that you add as much information to the form as possible, any missing information may delay the processing of your request.
3. Tracking an existing call
All your recent calls will be displayed in the My Active Calls area.
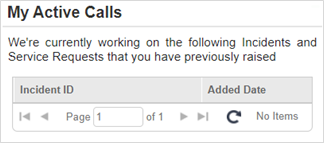
Click any call to view the full call information, this includes any information added by yourself and the IT teams.
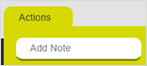
If you wish to provide an update on the call you can choose the Add Note option from the Actions link at the top of the screen, this information will be added to the call notes.
4. Escalate Call button
As of the 1 February 2024, we are introducing the ability for users to self escalate their call, this is available via the self-service portal, which will replace the current process of escalating a call via email.
The Escalate Call button will only be available when the call is either within 8 hours of breaching the agreed timescales or has already breached them.
Process:
Select the appropriate call.
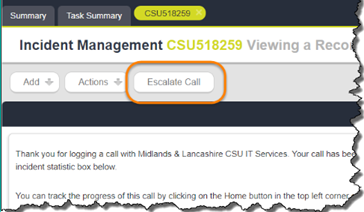
If the Escalation criteria is met the Escalate Call button will be visible. Click the Escalate Call button.
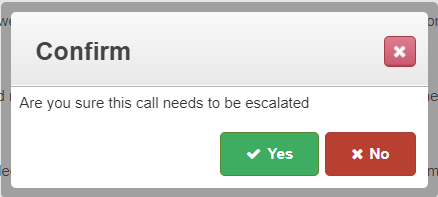
The Confirm box now appears, click Yes to confirm the call needs escalating.
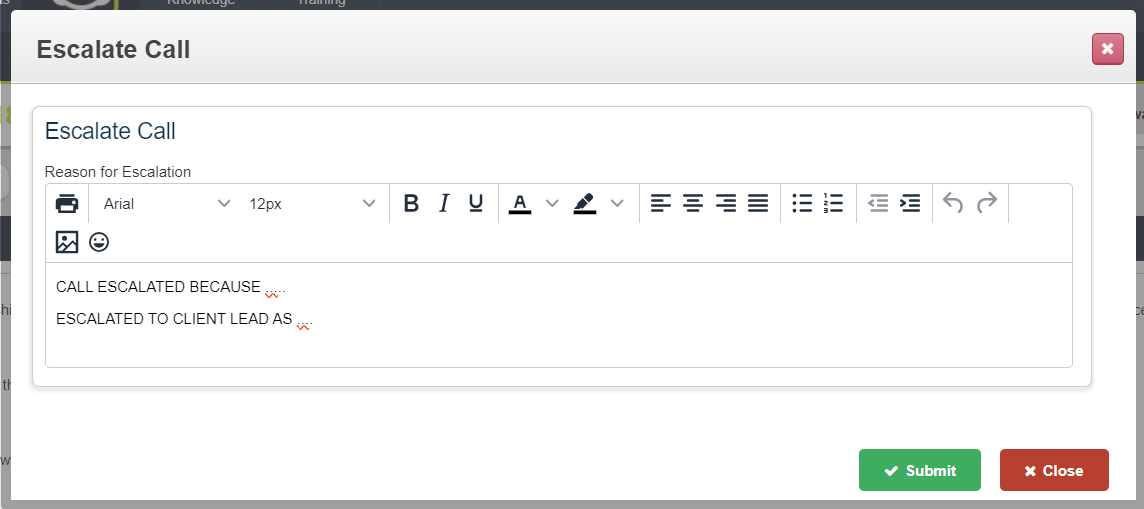
The Escalate Call Text Box now appears, Enter the Reason for Escalation information.
Click Submit.
The Call is now escalated to the Service Desk Managers queue, they are available during normal working hours and will review the call as soon as possible. If appropriate they would escalate the call further to the appropriate Client Lead or Customer Relations Manager
Note: Calls should only be escalated when it is appropriate to do so, for example if the issue has evolved and now impacts multiple users.
This feature is available via the self-service portal
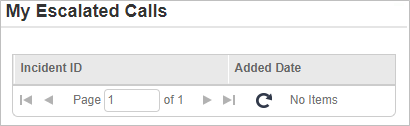
The call details will be added to the My Escalated Calls area on the left of the window.
How to Escalate Call button video
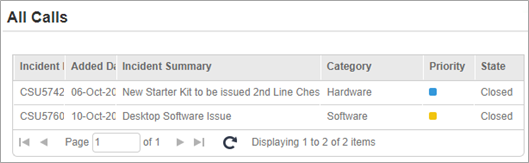
5. Checking on a resolved call
All your resolved calls will appear in the All Calls area, this can be used to look back over previous jobs you have logged or check on the resolution method and summary to resolve a specific call.
6. AVA Chatbot
In the AVA the chatbot area, click the Open Chat link.
Please note that AVA chatbot can also be accessed from the shortcut on your desktop - or at https://chat.mlcsu-service-desk.cloudcontact.io/
Any relevant announcements that you will need to be aware of will be displayed in the bottom left corner of the screen.

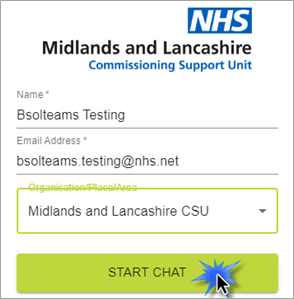
Type in your Name and Email Address. Select your Organisation/Place/Area from the drop down list and click the Start Chat button.
Select one of the options:
- Get an update on an existing issue
- Log a call about a new issue
- Type a message and press enter
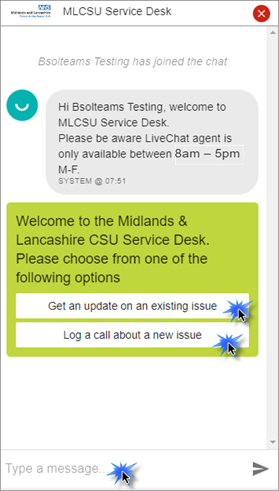
Please be aware Live Chat agent is only available between 8am and 5pm Monday to Friday.
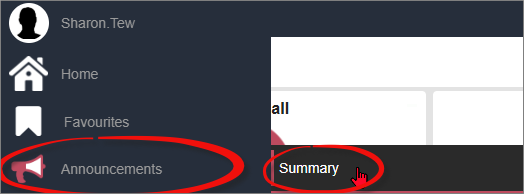
7. Announcements
Any relevant announcements that you will need to be aware of will be displayed on the left of the window.

Hover over the buttons to view the options.
Profile
Click the Profile button to view any Messages, My Profile and Logout options.
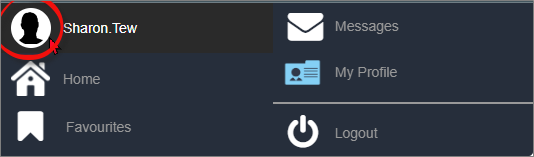
Messages – emails sent to you from Midlands and Lancashire IT Department
My Profile – Update your name, details or reset your password
Logout – closes the self-service portal
Home
Click the Home button to return to the dashboard home page.
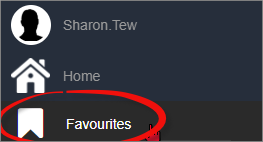
Favourites
The Favourites section will display any incidents you have marked as a favourite to access your call information quickly.
Announcements
Click the Announcements button to display the Summary. Any announcements will be displayed from Midlands and Lancashire for customers.
Incident Management
Hover over Incident Management to view the Summary and Task Summary options. Click Summary or Task Summary to view the calls or tasks. Click the Incident Management button to view all your calls.

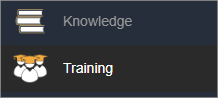
Knowledge and Training
Select the Knowledge and Training buttons to view user guides and training materials.
10. Further Information
The IT Service Desk team will contact you via email to let you know when your call has been resolved. The email will contain a link to our customer survey.
We take all feedback very seriously and always use it to enhance our service going forward. Please remember to provide honest feedback at the end of each call.
Please visit the MLCSU Academy:
Additional Guidance
Please refer to the User & Video Guides or the Microsoft 365 page for on the MLCSU Academy for additional guidance.
Please contact the MLCSU IT Training Team if you need any further help. Email: mlcsu.academy@nhs.net